Showing posts with label party. Show all posts

Tuesday, February 5, 2013

Mini Cake Making Class


 Last evening the Small Wonders Miniature Club of Cary had a miniature cake making class. And I was the instructor!  Can't begin to tell you how nervous I was!  I was especially nervous as Sydnie Wagner is a member of our club - she wrote a book on making mini food  (http://www.amazon.com/Petite-Eats-Treats-Fabulous-Foods/dp/0938685120)  .  I was able to provide everyone with enough materials to make three cakes. I also made sample cakes in advance to show them the 3 primary types of frosting I use on my cakes: fondant, TLS mix and homestyle (modeling paste).  I also had written instructions complete with photos of my making the sample cakes. I made the sample board in the photo below for a reference.    It seems like everyone had a great time. They all made such different cakes! It was fun to see all the different ideas come out. And not only did Sydnie compliment me on doing a great job, but she gave me an autographed copy of her mini book. How sweet!!

 
Lest you think that I've been taking it easy lately, I have made considerable progess on my bee themed kitchen roombox. Here are the table and benches. I made the bee and flower decals with TLS.
 
 
And I have installed shelves into the pantry. I made the shelf paper edging yesterday. It's going to look great! I also have my lighting in hand - chip LEDs. So I've added making lampshades to my to-do list. 
 
 
My husband loves going to the Habitat ReStore.  I still miss the one we used to frequent in GA - lots of books, clothes, etc.  Here in NC,  they don't get that domestic.  Tools, windows, toilets.  Pretty much boring.   But I recently accompanied my husband one rainy afternoon. Reluctantly, I'll admit. And look what I found!


 Okay, it's hard to tell but what you are looking at is one "The Heritage" dollhouse kit from Greenleaf.  It cost $10!!!  I just stood in the store with this dopey big grin when I spotted it.  Someone had started it - the base is done; there's some parts primed.  The instructions and all parts are there. Along with it I received several dollhouse carpets and sheets of wallpaper.  But I've made myself promise to finish my current projects before diving into this one.
 
 
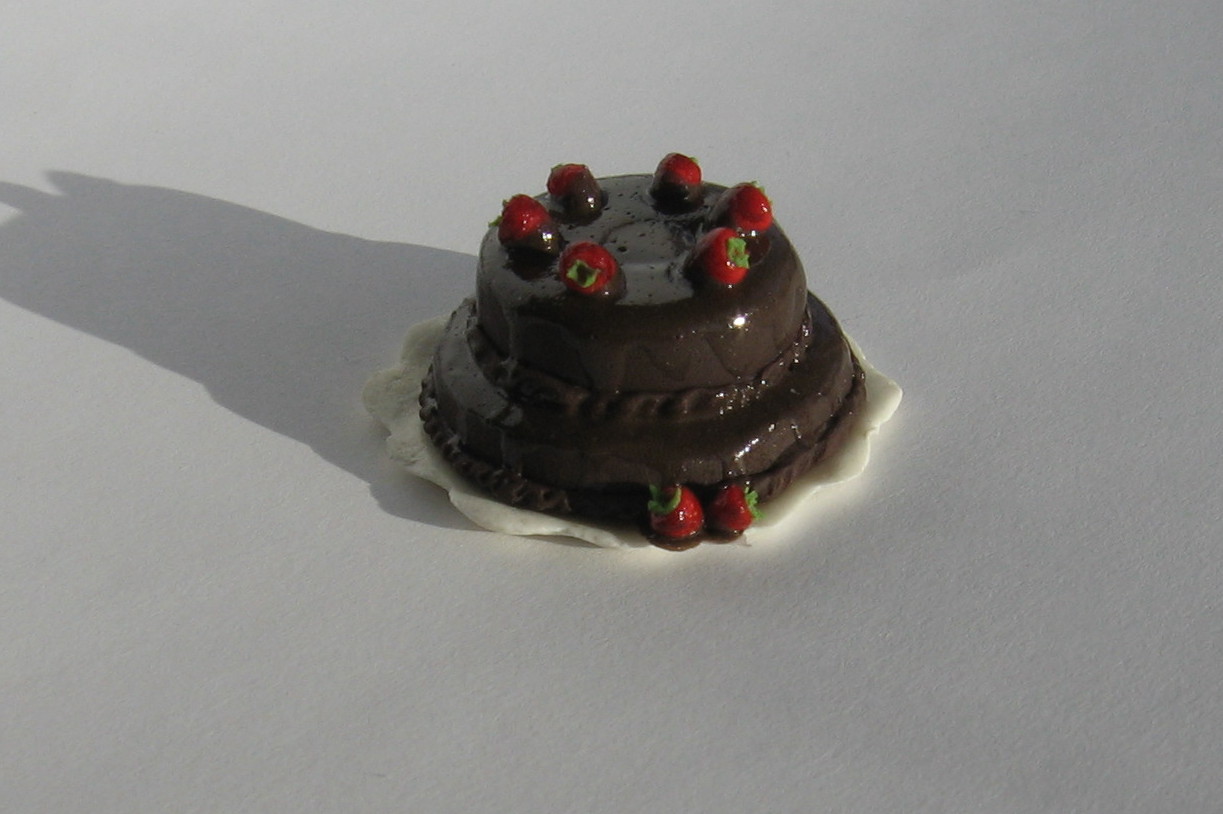
This little hutch is a birthday gift for my friend, Frances.  I'm going to load it up with photos of her family, a cake, and some other little trinkets. Once I get the base done, it will be on its way to her. 
 
Hope you're all keeping safe and warm. Have a great week!
Toodles,
 
Cyndy


Thursday, November 29, 2012

Thanksgiving Dinner Table

I wanted to share my Thanksgiving dinner table scene I've created. I made the centerpiece, the napkins, the cake, wine bottle as well as all the fruit (except the red berries).  I did it as part of a "A Lifetime of Miniatures" Facebook group challenge.  As you can see, it's very much a work in progress - those bowls are crying out for cranberries and mashed potatoes! 

Hope you had a wonderful Thanksgiving.  

Toodles,

Cyndy

Sunday, April 22, 2012

Playing with a "New" Technique


I previously shared my various frosting methods for miniature cakes. Yesterday, I tried the fondant type method of frosting a mini cake, something completely new to me. It is a bit of a challenge to wrap the 'fondant' around both layers but I had fun creating these little cakes.  And I like the results! The green one is my personal favorite.


 This purple cake needs something around the bottom edge, I think. A frill of yellow?  It will be going to a new home along with the pink cake below. I am donating them to a cancer patient bakery project. I could have sliced these as well but positioned the flowers incorrectly. 


It's a rainy, dreary day here. I wish I could be making more of these - hoping to perfect the technique - but work took precedence. Have a great rest of the weekend! Toodles,
Cyndy

Wednesday, February 29, 2012

The Icing on the Cake

The mini foods I best like to create are cakes, pastries and breads. (Oh, my sweet tooth!)
I thought I'd share the types of cake icings I use for different effects.

This cherry cake is frosted with a mixture of liquid Sculpey and polymer clay. It takes a lot of effort to get it smooth but it's worth the effort. I frosted between the baked layers of the cake, the sides and finally the top, baking for five minutes in between each step. It gets quite messy otherwise. 


 This St. Patrick's Day cake is iced with molding paste. It's light, fluffy and has that homemade look. Molding paste requires no baking as it air dries.


 This Christmas cake is made with a plain white clay layer. It is decorated only with the candies, Santa, and the trees. This creates a smooth, fondant look. All pieces were baked separately then glued into place.


 For a ganache effect, combine triple thick glaze or similar with paints or chalks of your choice. Then drizzle over your cake. It's also great for making chocolate covered strawberries.


 Another example of molding paste, this time with a touch of yellow paint added in. Molding paste comes in several brand names and is available in the art supplies/paint section of your hobby store.


For a smoother look, I wet my fingers and patted the molding paste down on this cake.


For intricate details, try mix molding paste with a touch of cornstarch before piping your designs. It helps the small details to hold their shape. This is something I am still working on. I do know that too much cornstarch will cause your creation to crack.

Do you frost your mini cakes using any of these methods or something else?
 Have fun and happy baking!
Toodles,
Cyndy